
Shooting PhotosNext
Prev
In this section we describe the simple steps that you need to follow to take pictures with your Bigshot camera. Step 1: Set shooting mode
Turn mode dial to the desired shooting mode: Step 2: Choose the lens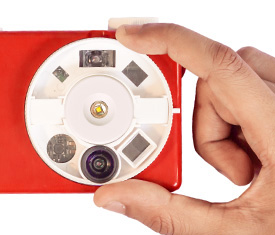
Gently rotate lens wheel to the desired lens setting: Step 3: Confirm Settings
The display will confirm your mode dial and lens settings. Check battery level to make sure there is sufficient power to take photos. Check number of photos remaining to make sure there is sufficient space to store the photos you plan to capture. Step 4: Frame the picture
Hold the camera steady with both hands. Look through the viewfinder or the display to frame the scene you want to capture. Make sure your hands or fingers do not block the camera lens or flash. Step 5: Shoot
Hold the camera steady and gently press the shoot button. You will hear a shutter sound and see a green LED glow in the viewfinder during exposure. Step 6: Review photo
Right after the photo is captured, the display will show the photo for three seconds for a quick review. You can continue to take pictures after that or go to playback mode to review the photos you have taken. Using a Tripod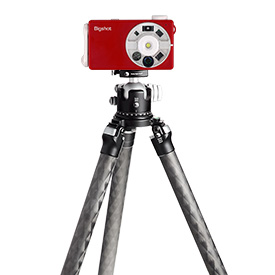
For darker scenes the camera will tend to use longer exposure times during which it may be hard for you to hold the camera steady. The resulting photos will tend to have strong motion blur due to hand shake. To reduce motion blur, you can mount the camera on a tripod using the tripod mound provided at the bottom of the camera.
|


